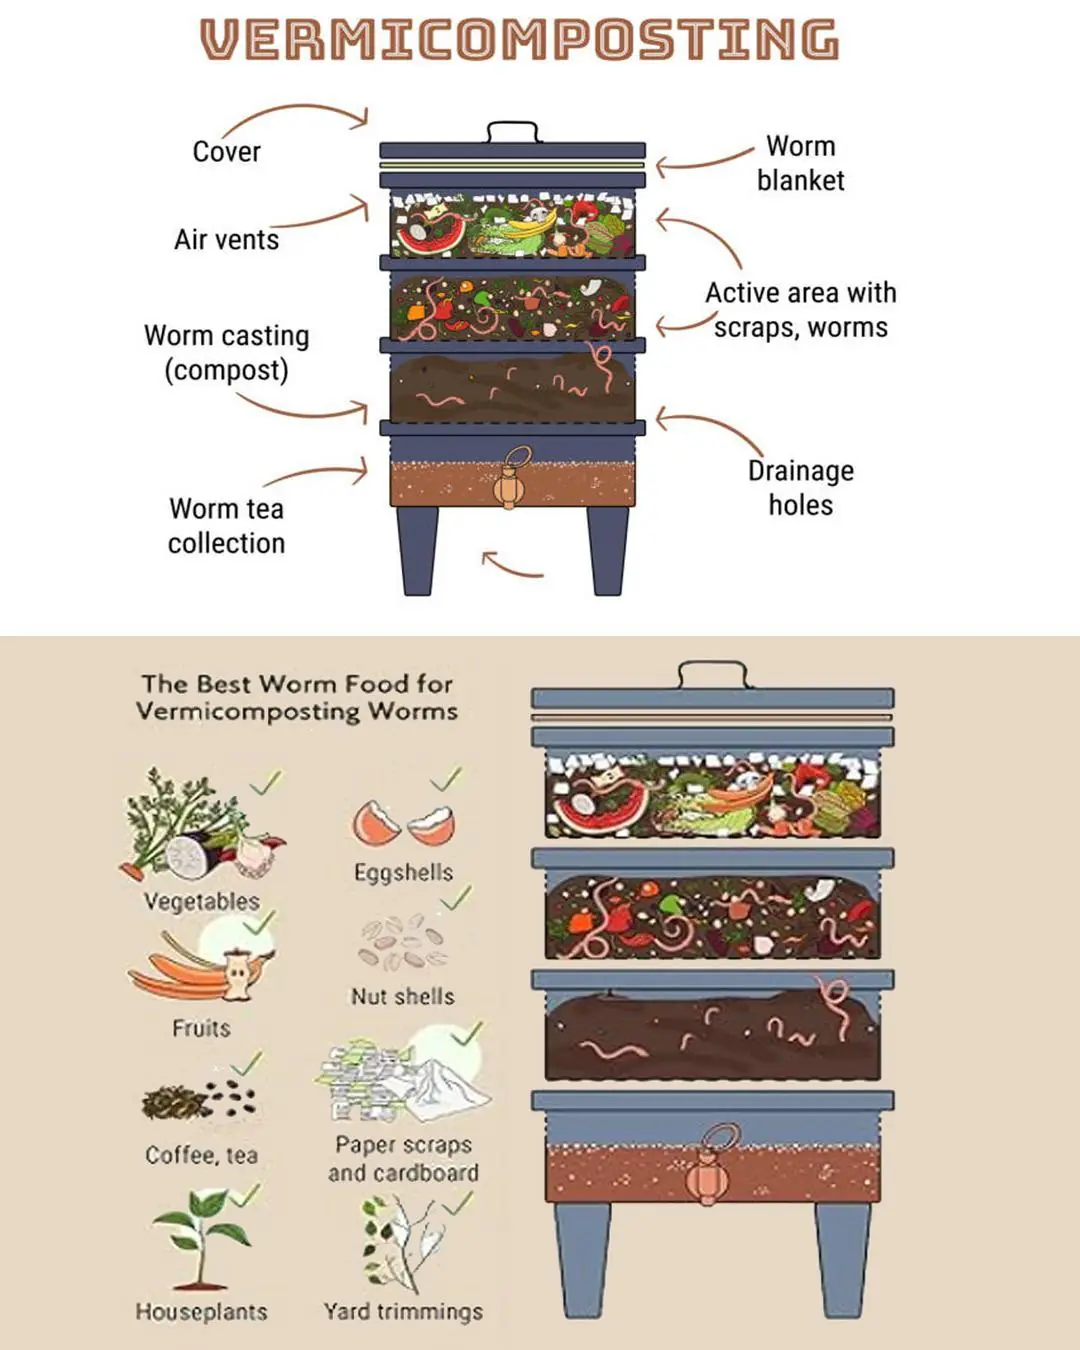
As sustainability becomes a growing priority in our daily lives, finding eco-friendly ways to reduce waste and recycle organic materials is essential. One highly effective method is vermicomposting, a natural process where worms break down organic waste into nutrient-rich compost. In this guide, we’ll walk you through the steps to create your own homemade vermicomposter, allowing you to turn kitchen scraps into valuable fertilizer while reducing landfill waste.
Materials You'll Need
Before assembling your vermicomposter, gather the following materials:
- A Suitable Container – A plastic storage bin, wooden crate, or a specially designed worm composting bin will work. Ensure it has a lid to keep pests out and holes for proper ventilation.
- Bedding Material – Shredded newspaper, cardboard, or coconut coir make excellent bedding. Avoid glossy or colored paper.
- Worms – Red wigglers (Eisenia fetida) are the best worms for vermicomposting. You can buy them online or at a local garden center.
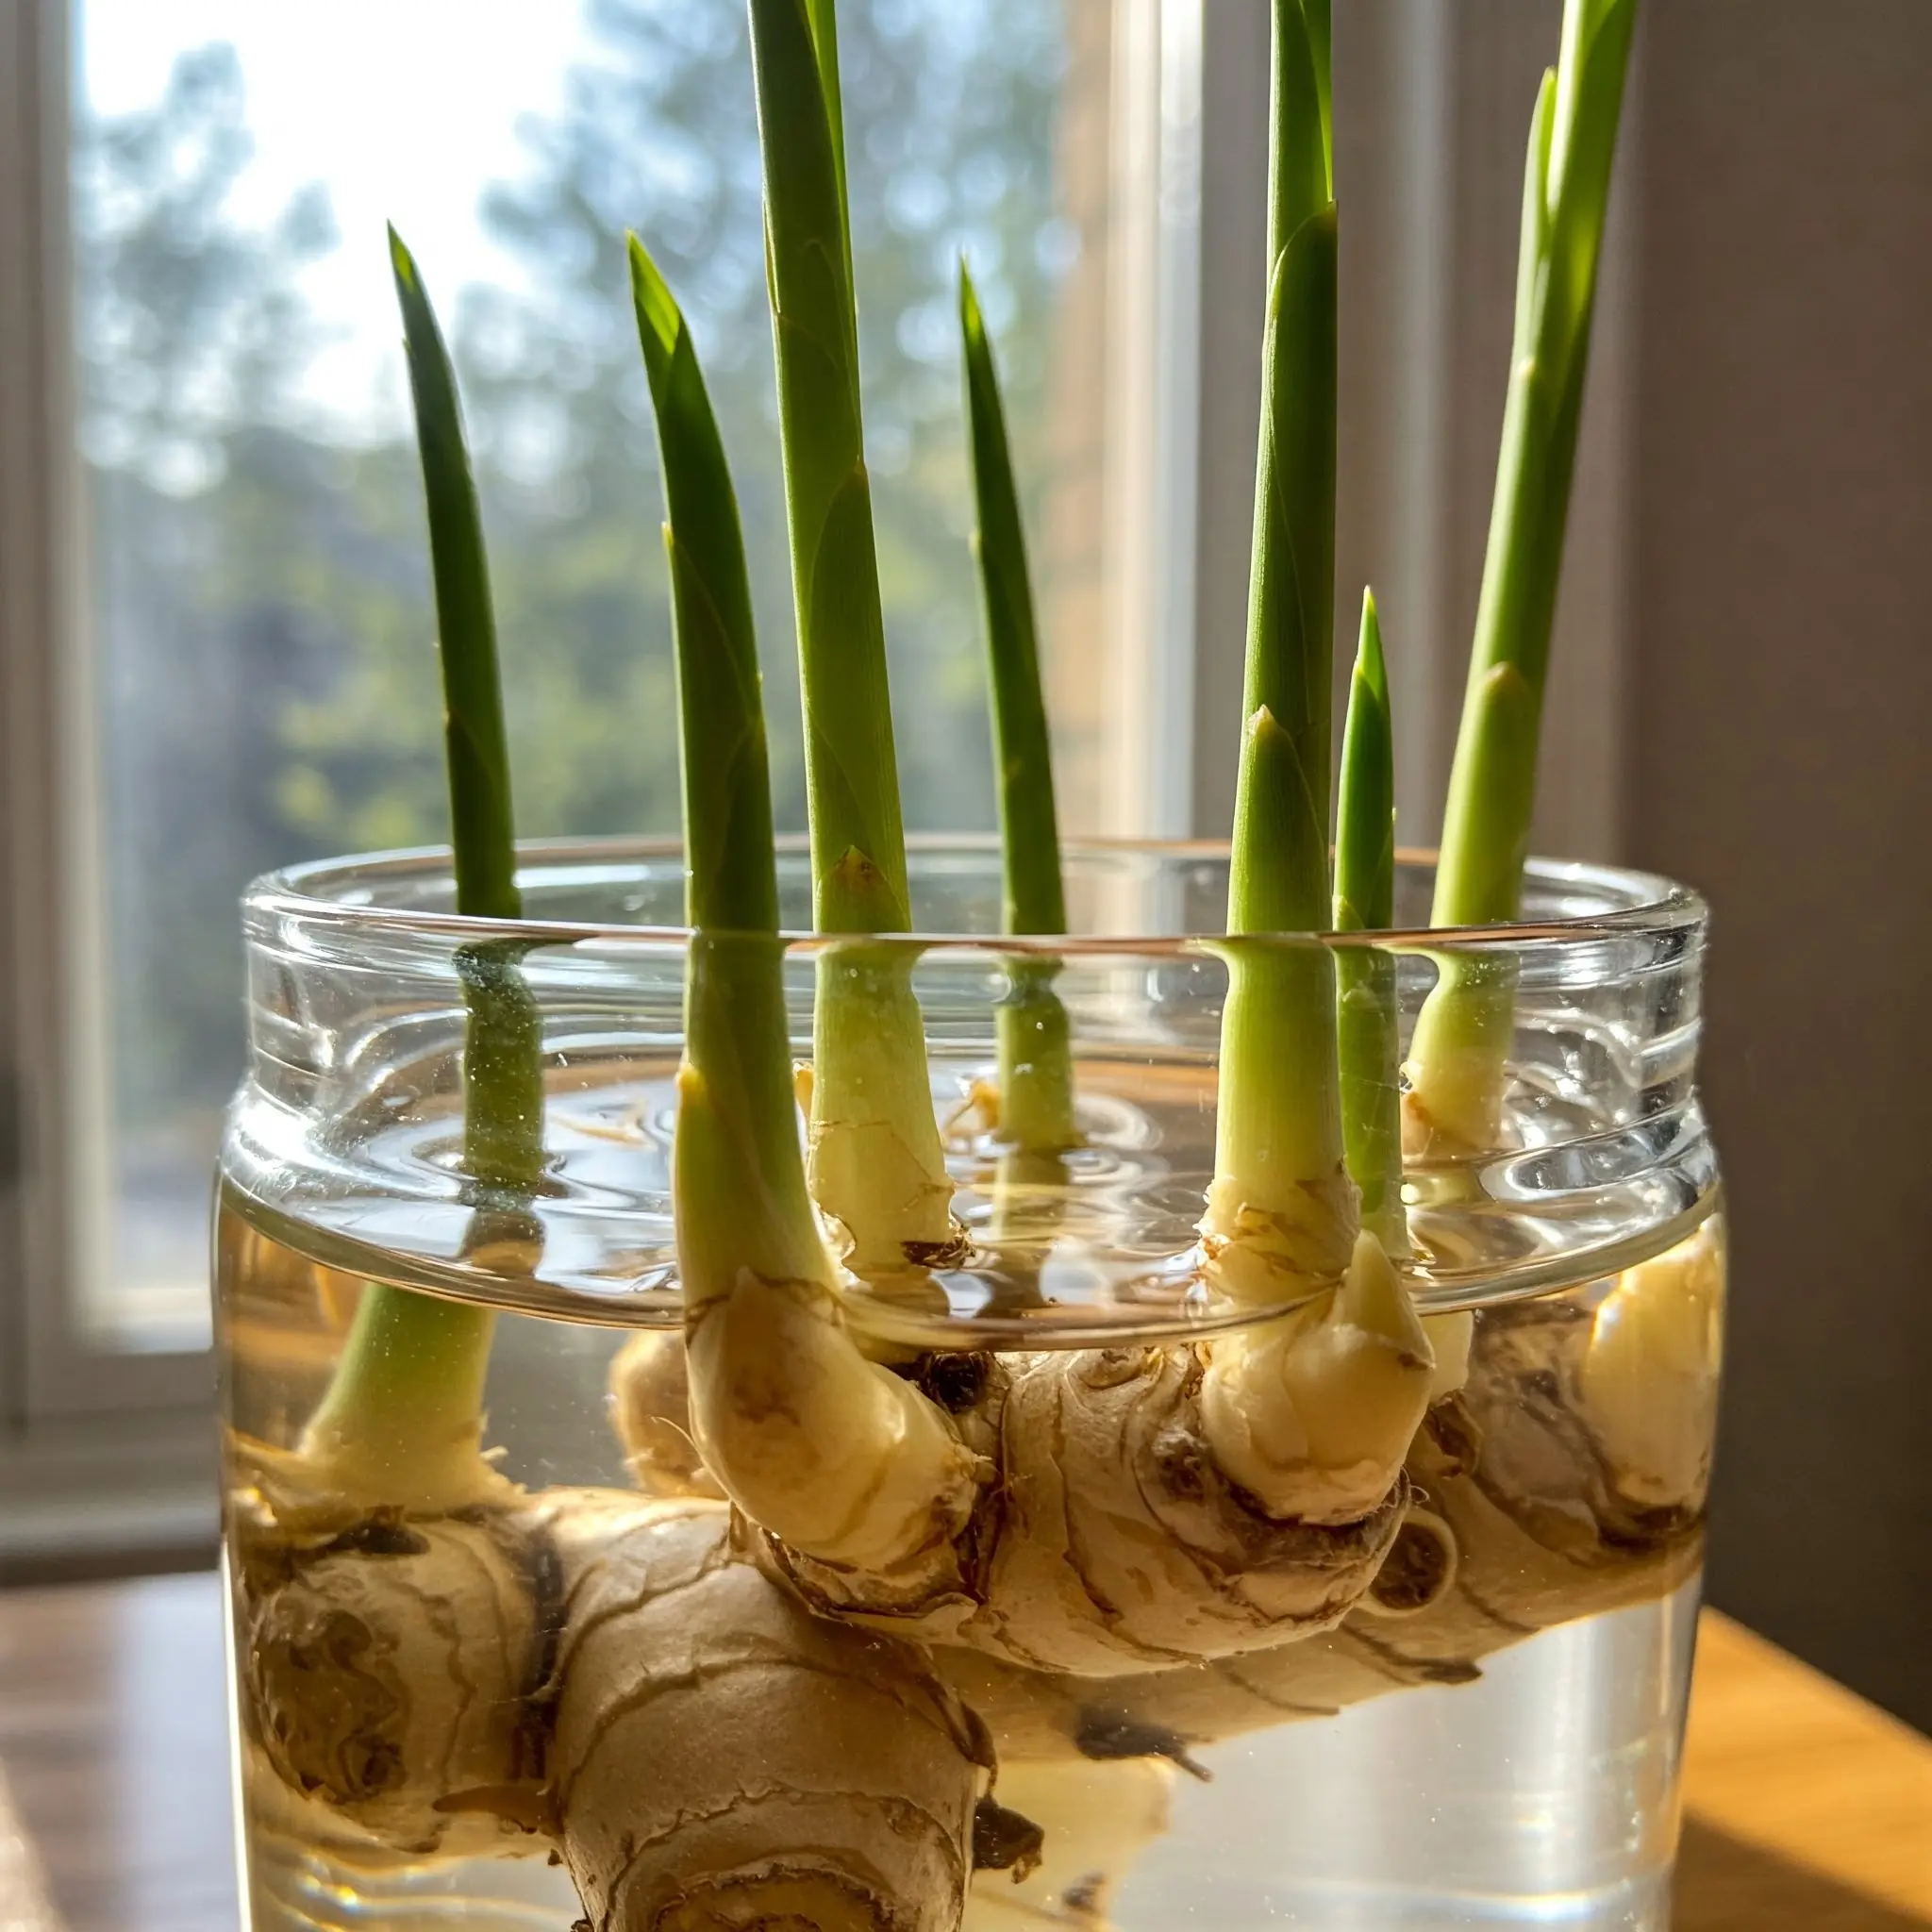
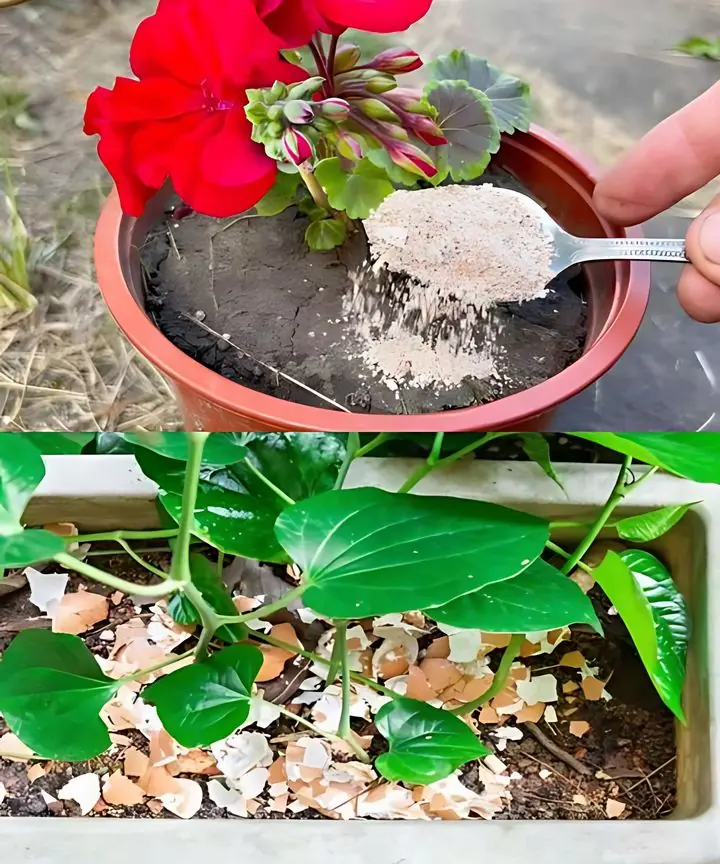
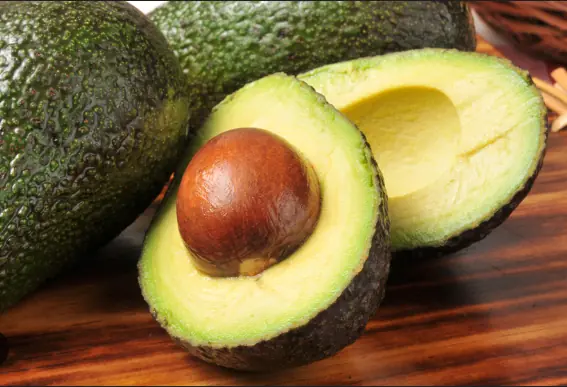
- Organic Kitchen Scraps – Fruit and vegetable peels, coffee grounds, eggshells, and other compostable food waste.
- A Drill with a ¼-inch (6 mm) Drill Bit – For making ventilation and drainage holes.
- A Piece of Burlap or Old Cloth – Helps maintain moisture and protect worms from light exposure.
Step-by-Step Guide to Building Your Vermicomposter
1. Prepare the Container
- If your container lacks ventilation holes, drill small holes in the lid and along the upper sides for airflow.
- Drill a few larger holes in the bottom to allow drainage. Place a tray underneath to catch excess moisture.
2. Add Bedding
- Spread a 2-3 inch layer of moistened bedding material at the bottom of the bin.
- Ensure the bedding is damp, like a wrung-out sponge—not too wet or too dry.
3. Introduce the Worms
- Place your red wigglers on top of the bedding.
- Cover them with another thin layer of moistened bedding to help them settle in.
4. Feed Your Worms
- Start by adding a small amount of kitchen scraps in one corner of the bin.
- As the worms adjust, gradually increase the amount of food.
- Avoid meat, dairy, oily foods, and citrus, as they can create odors and harm the worms.
5. Maintain the Vermicomposter
- Keep the bin in a cool, dark place, away from direct sunlight.
- Maintain proper moisture levels—mist the bedding if it dries out, but avoid overwatering.
- Cover the bin with burlap or cloth to retain moisture and protect the worms from light.
6. Harvest the Compost
- After a few months, the compost will be dark, crumbly, and ready to use.
- To harvest, push the finished compost to one side of the bin and add fresh bedding and food to the other side.
- The worms will migrate to the fresh side, allowing you to collect the nutrient-rich compost without disturbing them.
Benefits of Vermicomposting
A homemade vermicomposter provides multiple benefits:
✔ Reduces kitchen waste – Diverts organic scraps from landfills, cutting methane emissions.
✔ Produces nutrient-rich compost – Worm castings create an excellent organic fertilizer for plants.
✔ Saves money – Eliminates the need for store-bought fertilizers.
✔ Promotes sustainability – Encourages eco-friendly habits and teaches responsible waste management.
Start Your Vermicomposting Journey Today!
Building a homemade vermicomposter is an easy, sustainable way to manage food waste while creating valuable compost for your garden. By following these simple steps, you can turn everyday kitchen scraps into rich, organic fertilizer, contributing to a greener and healthier environment. Get started today and see the incredible benefits of vermicomposting in action! 🌱♻