Home Tips 25/02/2025 15:38

Surprised With How To Grow Celery In Plastic Bottles Quickly | How To Grow Celery At Home

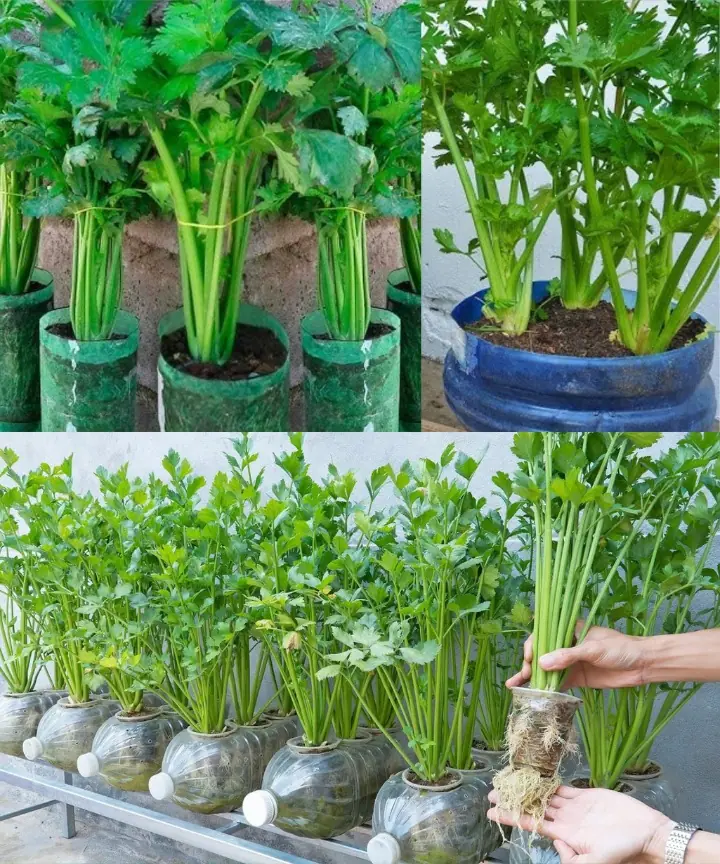
Transform your space into a green oasis by repurposing plastic bottles to grow celery—a perfect solution for small gardens, balconies, or indoor spaces. This method not only maximizes vertical space but also provides a controlled environment that protects your plants from pests, weeds, and harsh weather. Plus, it promotes water efficiency by acting as a mini reservoir and contributes to eco-friendly gardening practices.


Materials Needed

  • Plastic Bottles:
    Use bottles with a capacity of at least 2 liters (0.5 gallons) to ensure enough room for celery roots.

  • Potting Soil:
    Choose a high-quality, loose, well-draining potting mix rich in organic matter.

  • Celery Seeds or Seedlings:
    Celery seeds can be found at local nurseries or online. For quicker results, opt for celery seedlings.

  • Scissors or a Sharp Knife:
    To cut the bottles and create openings for planting.

  • Watering Can or Spray Bottle:
    For thorough and gentle watering of your celery plants.


Step-by-Step Guide

1. Prepare the Bottles

  • Clean and Cut:
    Remove any labels and clean the plastic bottles thoroughly. Cut each bottle in half horizontally. Use the lower half as your growing container.

2. Create Drainage Holes

  • Prevent Overwatering:
    With a sharp object (like a nail or a small knife), puncture several drainage holes in the bottom of each bottle. This ensures proper drainage and prevents waterlogging.

3. Fill with Soil

  • Add Potting Mix:
    Fill the bottom part of the bottle with high-quality potting soil, leaving about an inch from the top to allow room for watering.

4. Planting the Celery

  • Seed or Seedling:
    • For Seeds: Sow celery seeds directly into the soil following the seed packet instructions.
    • For Seedlings: Transplant celery seedlings carefully, ensuring they are well-spaced and the base is properly covered with soil.

5. Water Thoroughly

  • Initial Watering:
    After planting, water the soil generously so that moisture reaches the root zone. Maintain consistent moisture during the growing process, but be careful not to overwater.

6. Choose the Right Location

  • Sunlight:
    Celery needs at least six hours of direct sunlight daily. Place your bottles in a sunny spot outdoors or near a bright window indoors. Under grow lights works well too if natural sunlight is limited.

7. Maintain Your Garden

  • Regular Care:
    Monitor the moisture levels and water as needed. Avoid overwatering, as it may cause root rot. Feed your celery with a balanced liquid fertilizer once a month to promote robust growth.

8. Harvesting

  • When to Harvest:
    Celery typically takes 80-120 days to mature. Harvest the outer stalks as they grow, leaving the inner stalks to continue developing. Use a sharp knife or scissors to cut the stalks close to the base.

Benefits of Growing Celery in Plastic Bottles

  • Efficient Use of Space:
    Ideal for urban settings or small gardens, maximizing vertical and limited space.

  • Controlled Environment:
    The plastic bottle acts as a mini greenhouse, protecting your celery from pests, weeds, and extreme weather conditions.

  • Water Conservation:
    Bottles serve as reservoirs, reducing water waste through evaporation and runoff.

  • Eco-Friendly Gardening:
    Repurposing plastic bottles contributes to reducing waste and promotes sustainable practices.

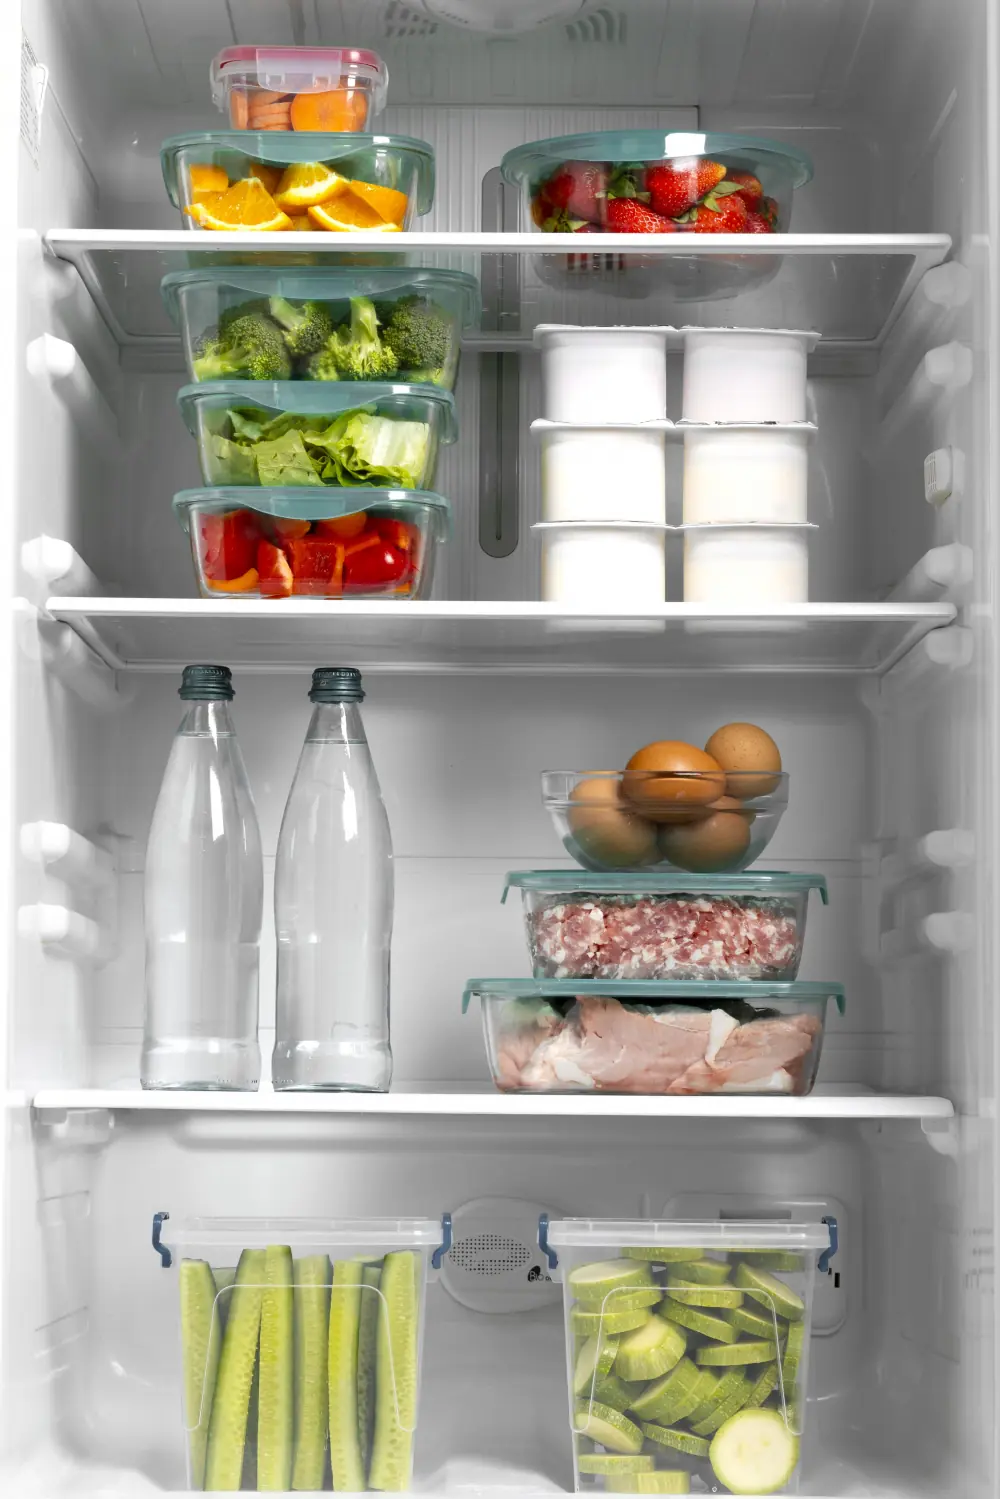
  • Fresh and Nutritious Produce:
    Enjoy homegrown celery rich in vitamins, minerals, and flavor, perfect for a healthy diet.


By following these steps, you can quickly set up a sustainable celery garden using repurposed plastic bottles. Embrace this innovative, eco-friendly method to enjoy fresh, nutrient-rich celery right at your fingertips. Happy gardening!

News in the same category

News Post